News
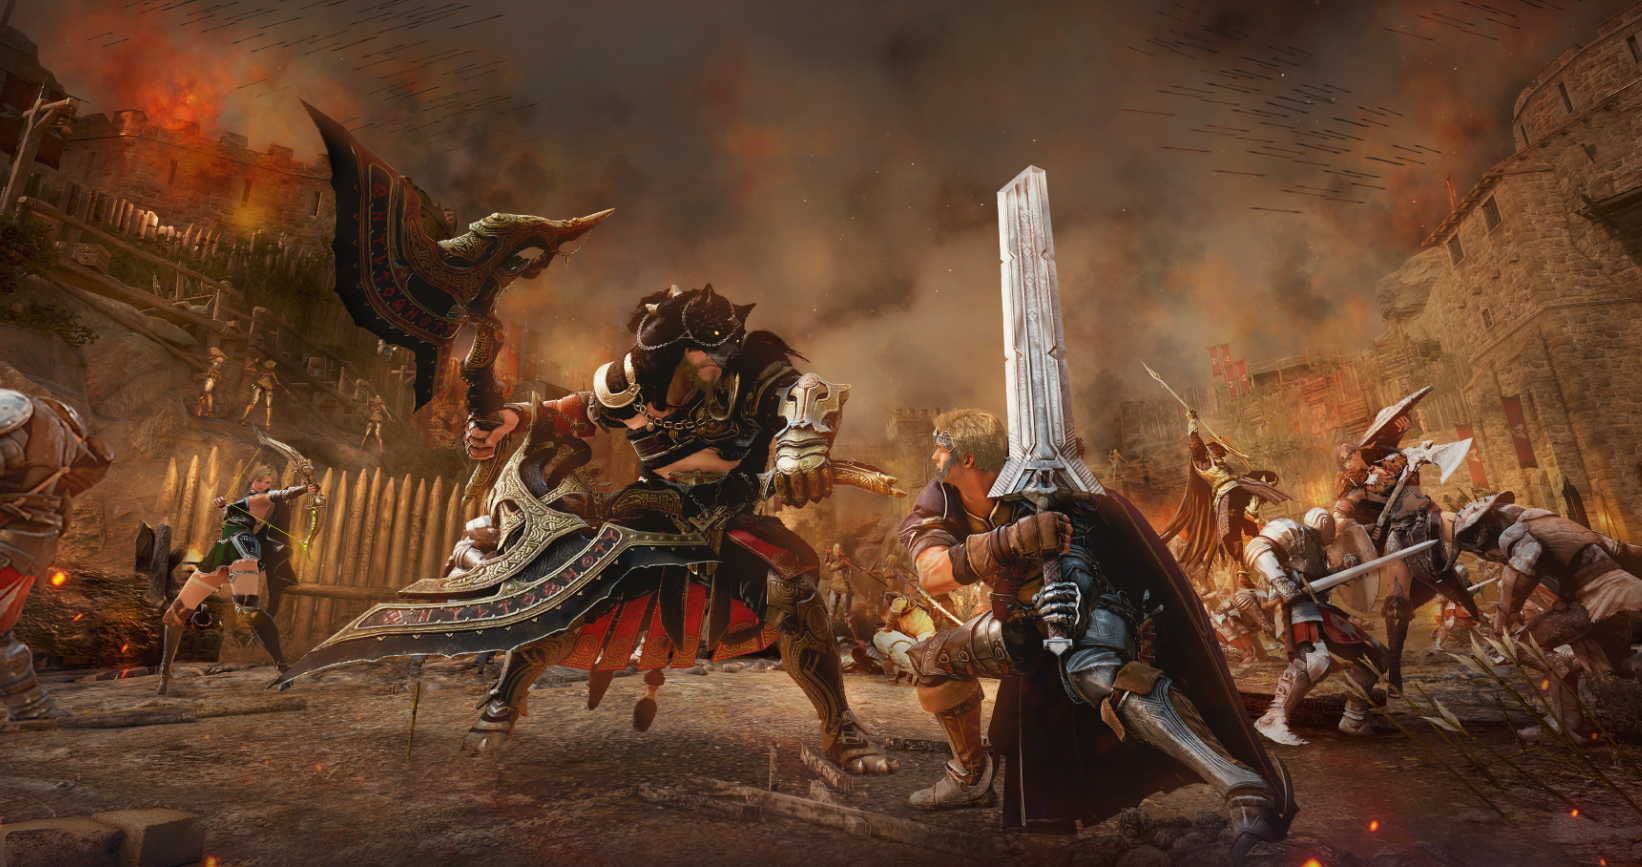
Fortress Battle
Greetings, Adventurers!
GM Lando here! (ง •̅ ▽ •̅ )ว
Fortress Battle was first revealed at the Heidel Ball last July!
With battles on a much larger and more strategic scale than traditional Node War,
many Adventurers have undoubtedly been looking forward to it.
Before Fortress Battle makes its debut on the test server,
the GMs got together, formed the Red Nose Guild, and tried it out firsthand!
I joined the Red Nose Guild,
while the other GMs formed the Giath Guild and Orgoh Guild!
You want to know which guild claimed victory in Fortress Battle?
Let's jump right into the action from this heated battle, where no one could let their guard down for even a moment!
👣 [Preparing for Fortress Battle]
We began setting up our characters for the new battlefield of Fortress Battle.
To give ourselves the best chance of victory, we carefully selected every Memory Imprint and Skill Sigil!
If you're participating in the Fortress Battle test, be sure to log in to the test server ahead of time
and set up your character with your preferred Memory Imprints and Skill Sigils!
Check out the notice below for instructions on accessing the test server and setting up your character!
👥 [Waiting for Fortress Battle to Begin]
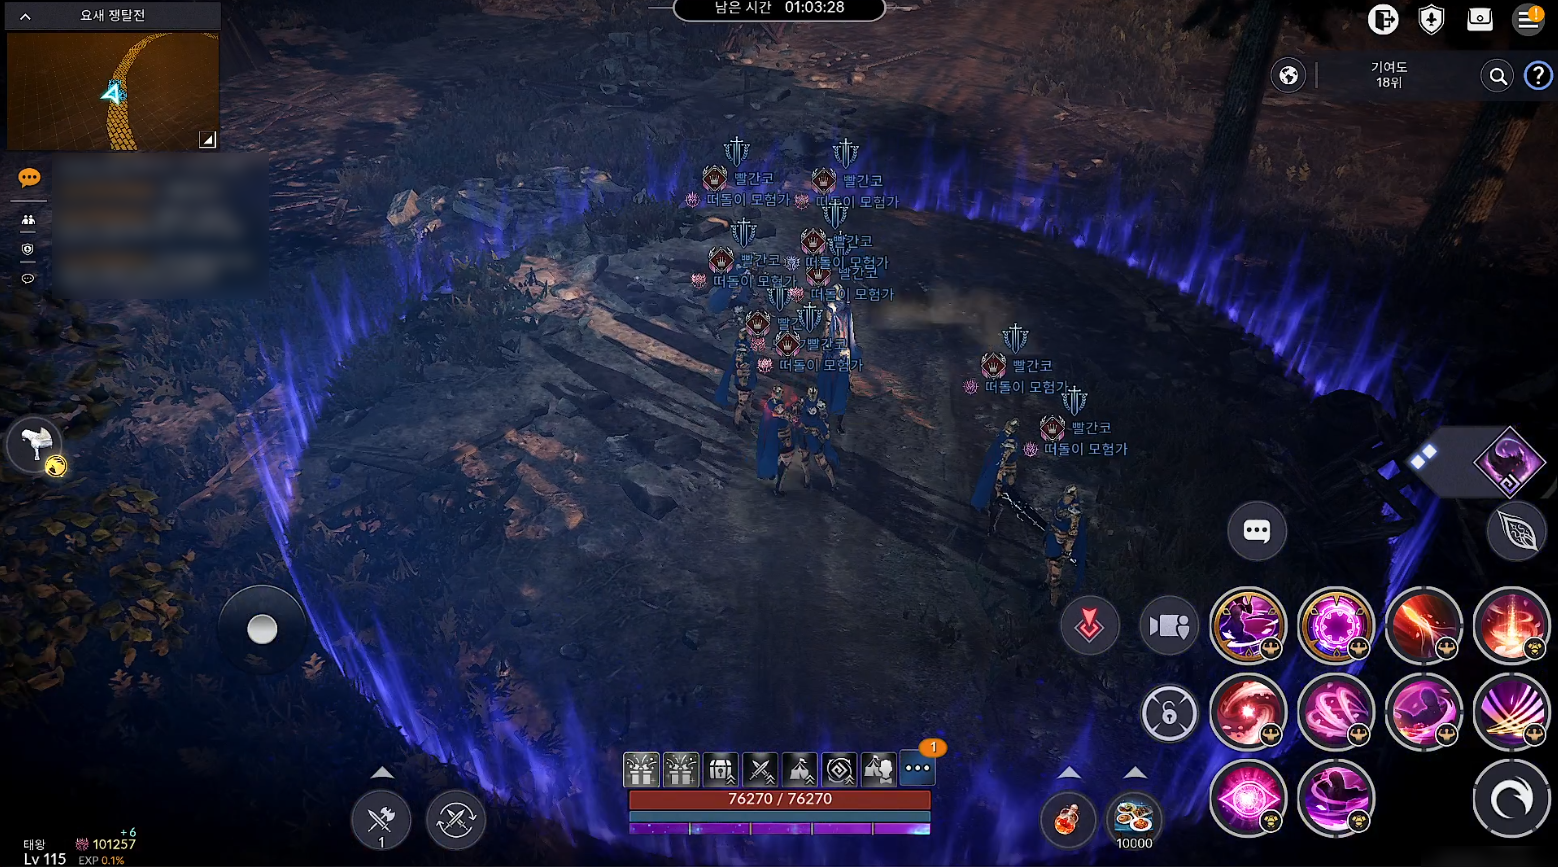
We entered Fortress Battle 5 min before it began and waited for our guild members to arrive.
Since we were on the test server, we made sure to pick up Ornette's Blessed Potion and stock up on Special Valencian Meals!
Rumor had it that the Giath Guild and Orgoh Guild would be formidable opponents,
so we couldn't wait to see whether we could claim victory in Fortress Battle!
🗺️ [World Map]
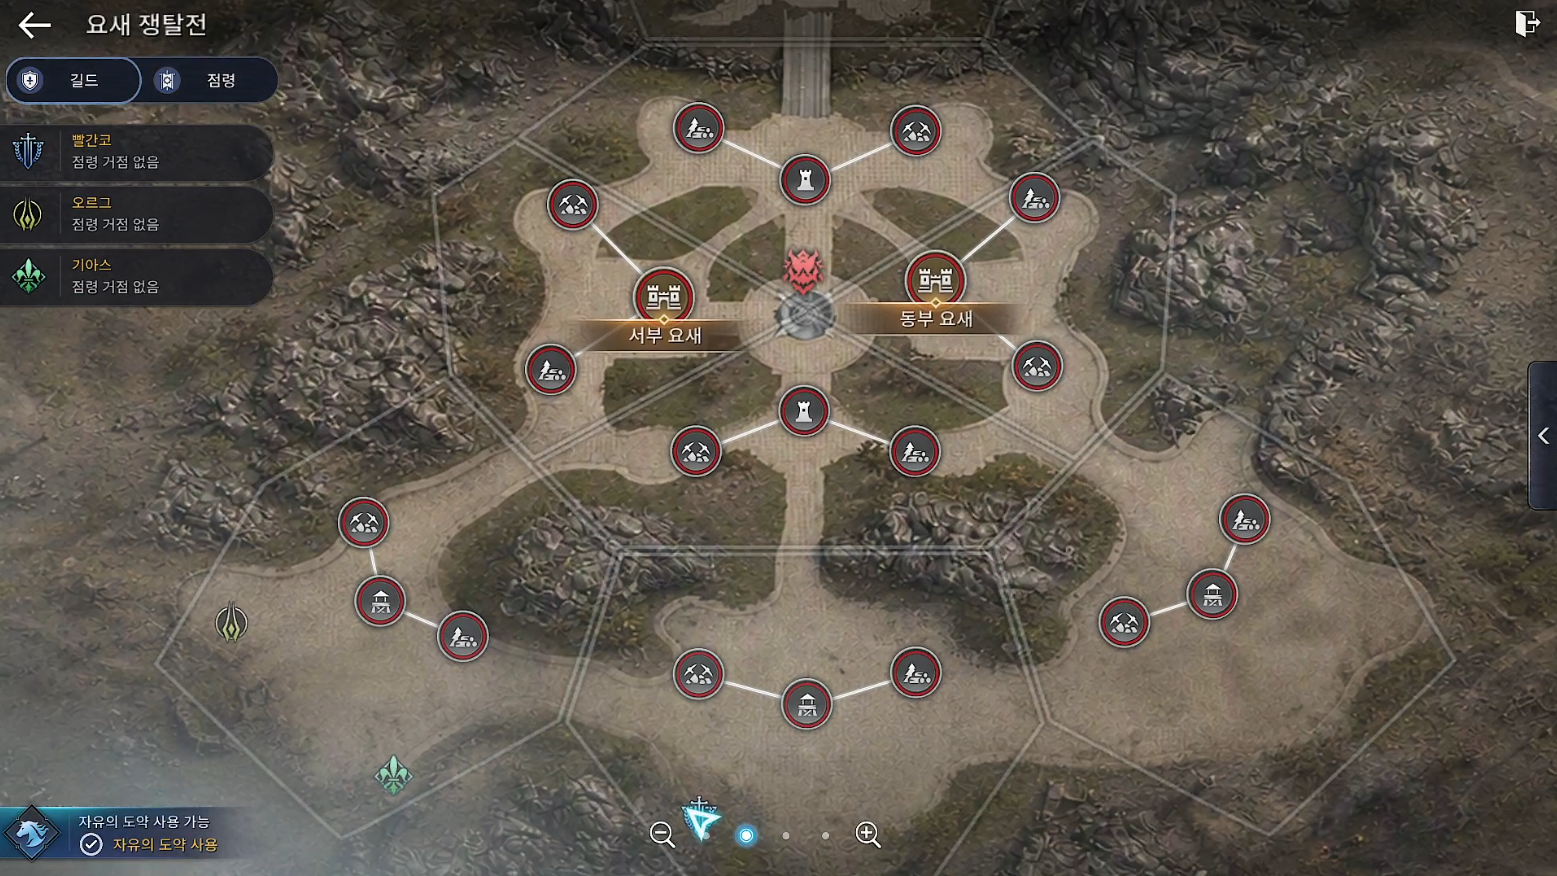
Once inside, we tapped the World Map button in the upper-right corner to get an overview of the battlefield.
It gave us a full view of the massive battlefield, which dwarfed those of traditional Node Wars.
Mobility proved essential to traversing this enormous battlefield efficiently.
The Dream Horse Arduanatt's "Leap of Freedom" skill allowed us to overcome terrain obstacles and reach key strategic locations in an instant.
It was a vital part of our strategy and could even turn the tide of Fortress Battle!
* On the test server, you can obtain a Dream Horse from Roro in Velia!
* We recommend choosing Arduanatt as your Dream Horse for the best Fortress Battle testing experience!
🏭 [Occupying the Smelter/Lumber Mill/Outpost]
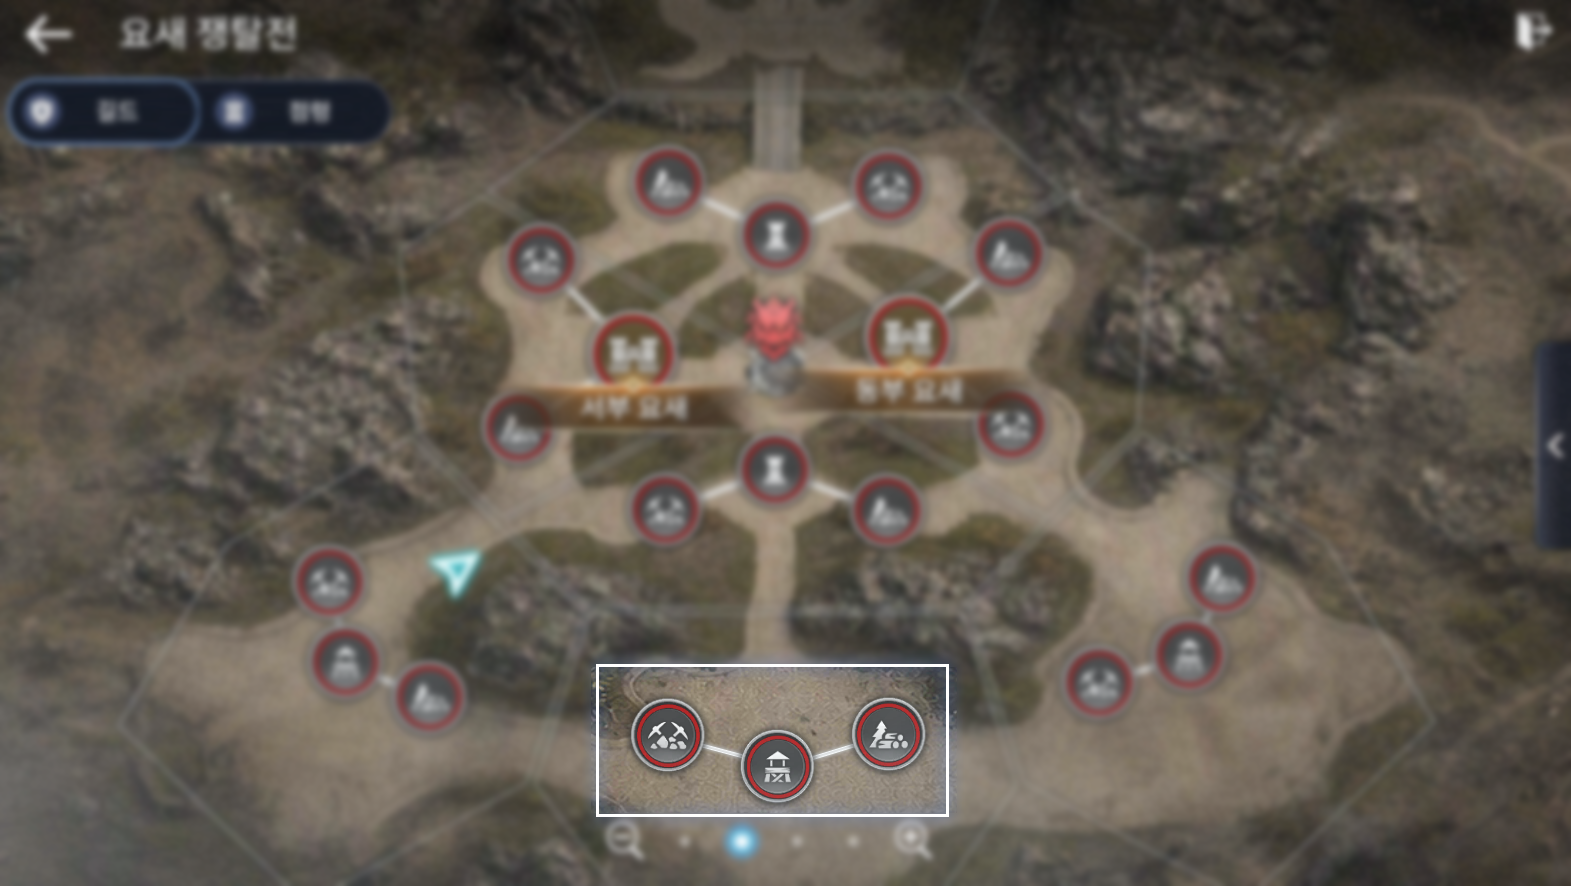
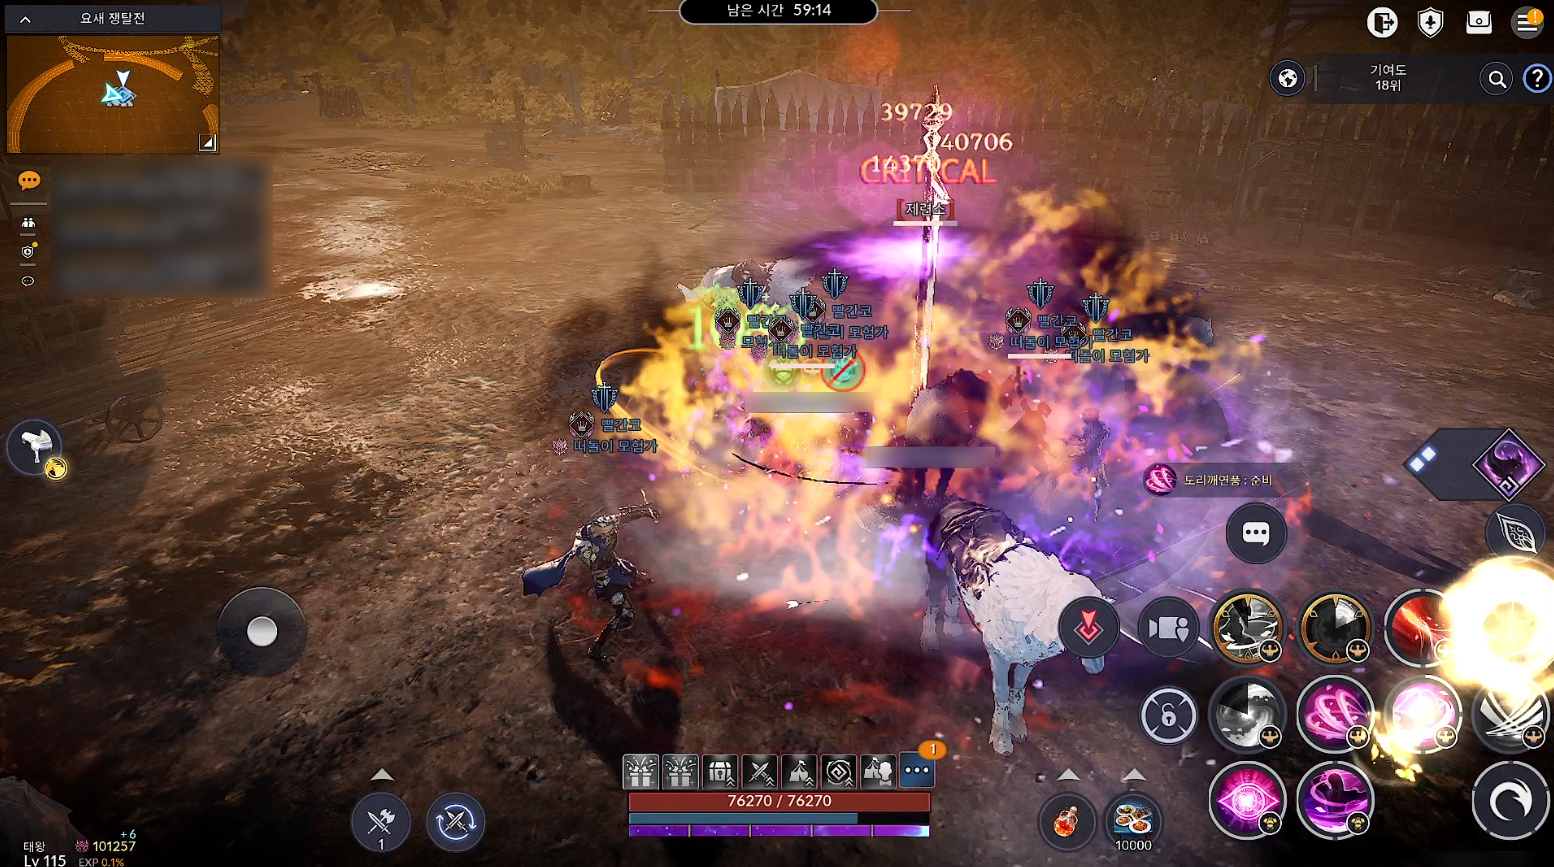
As soon as the battle began, we headed straight for the Smelter and Lumber Mill nearest our starting point.
After destroying the flag and occupying a Smelter or Lumber Mill, resources are automatically produced every 15 sec and stored at that Resource Node and any connected nodes your guild controls.
* The Guild Master and Guild Officer can use Ore to craft Cannons and Flame Towers.
* The Guild Master and Guild Officer can use Lumber to craft Recovery Towers, Cannon Observatories, and Indomitable Flags.
- The Guild Master and Guild Officer can tap the "<" button below Contribution
to activate Guild skill effects or craft, install, and summon siege objects!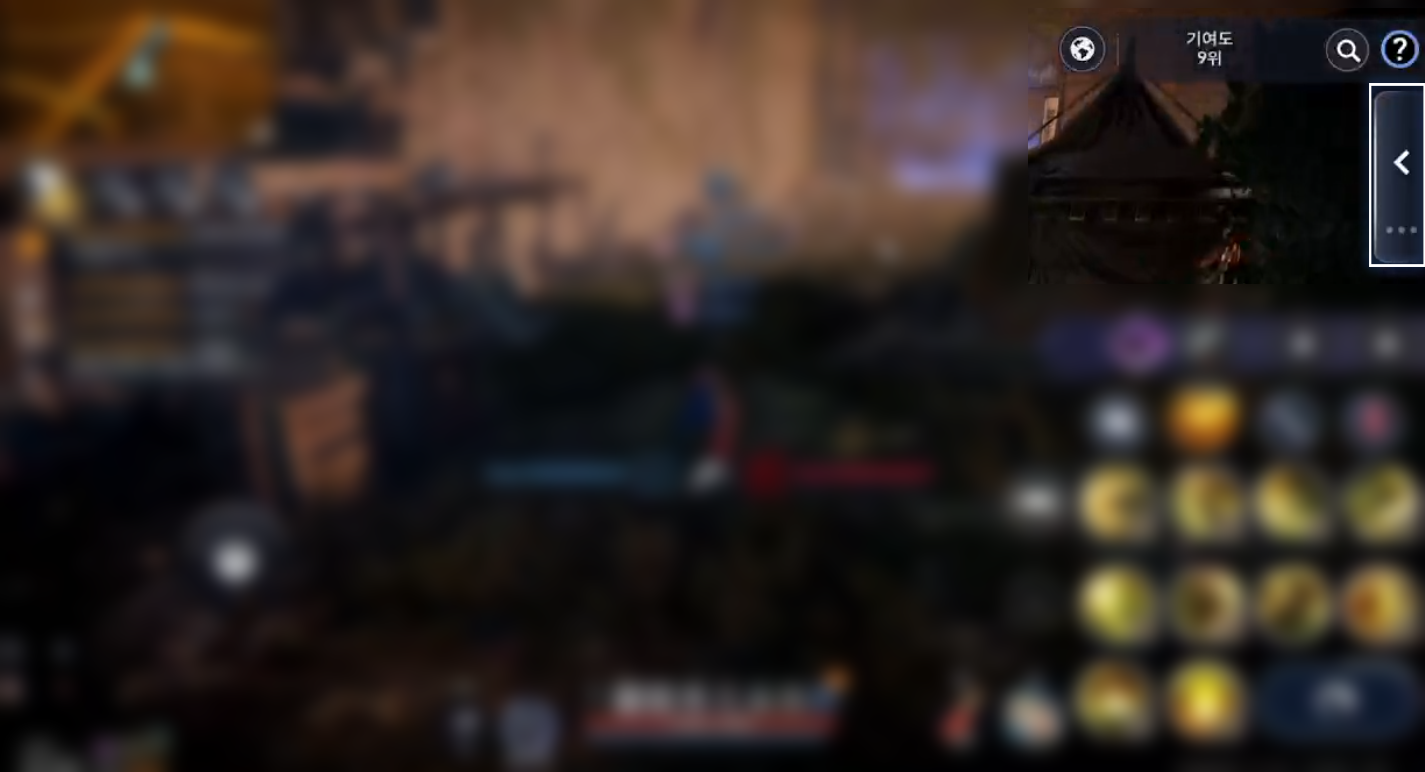
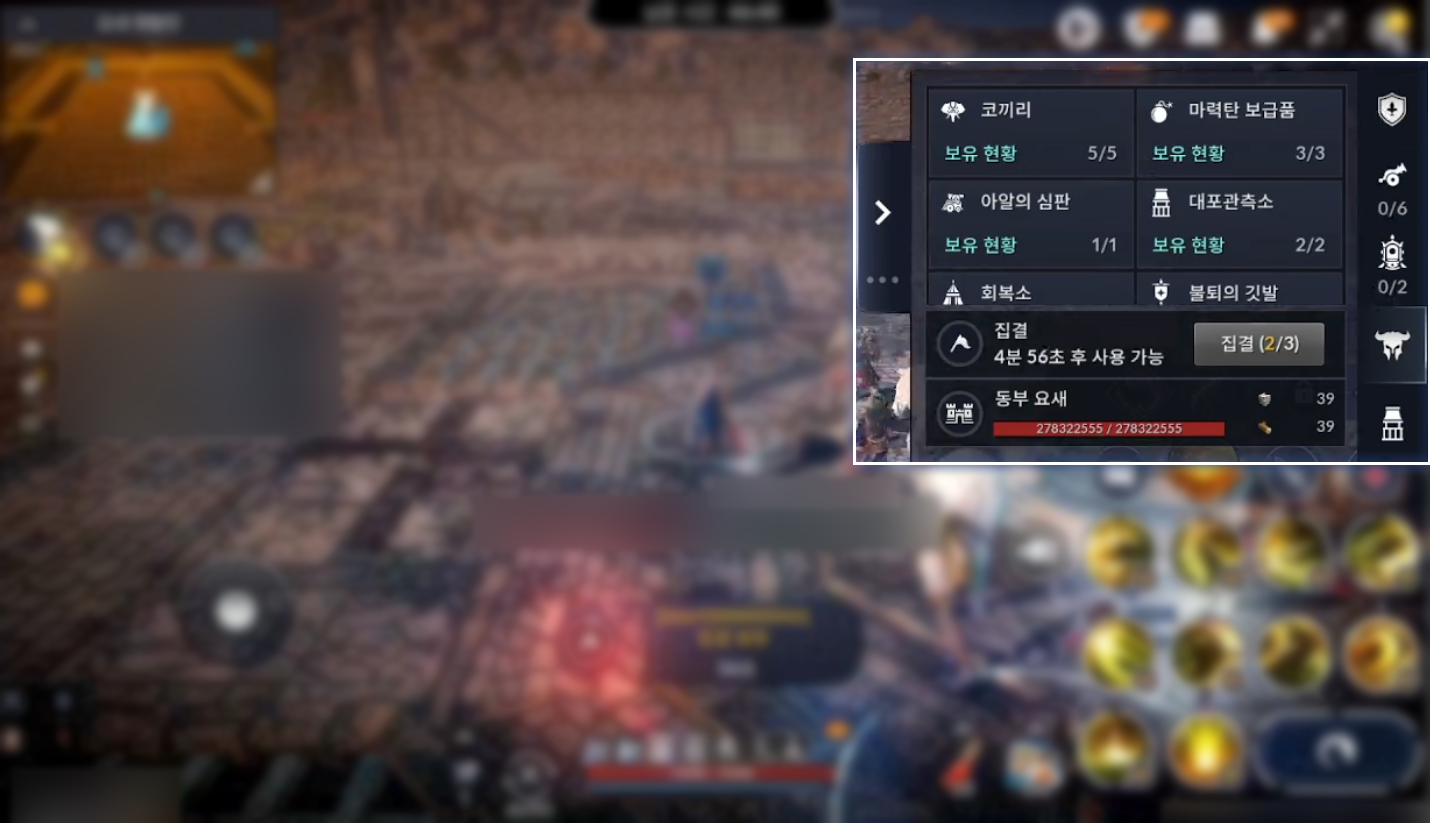
- Siege weapons can be summoned at occupied nodes.
ㆍSiege objects purchased or crafted at the Guild Fortress Armory are used first. Once all siege objects from the Armory have been used, additional siege objects can be crafted at occupied nodes using Lumber and Ore obtained during Fortress Battle.
* See the [BDM Test Server Patch Notes] for details.
★ Tip: Store Resources More Efficiently!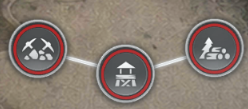
An occupied Outpost also automatically stores resources produced by its connected Smelter and Lumber Mill!
By occupying the Smelter and Lumber Mill, our Red Nose Guild accumulated 3 Ore and 3 Lumber every 15 sec.
Once we occupy the connected Outpost as well, the same amount of Ore and Lumber began accumulating there, doubling the resources we received!
* Resources will not accumulate at an occupied Outpost unless its connected Lumber Mill or Smelter is also occupied!
* Each guild can capture multiple Outposts, Resource Nodes, and War Camps at the same time!
After occupying the Smelter and Lumber Mill, we raced to the connected Outpost and occupied it as well.
An Outpost serves as a vital hub where Ore and Lumber produced at its connected Smelter and Lumber Mill are stored together.
Occupying it quickly is key to gaining an early advantage!
🏕️ [Occupying the Southern War Camp]
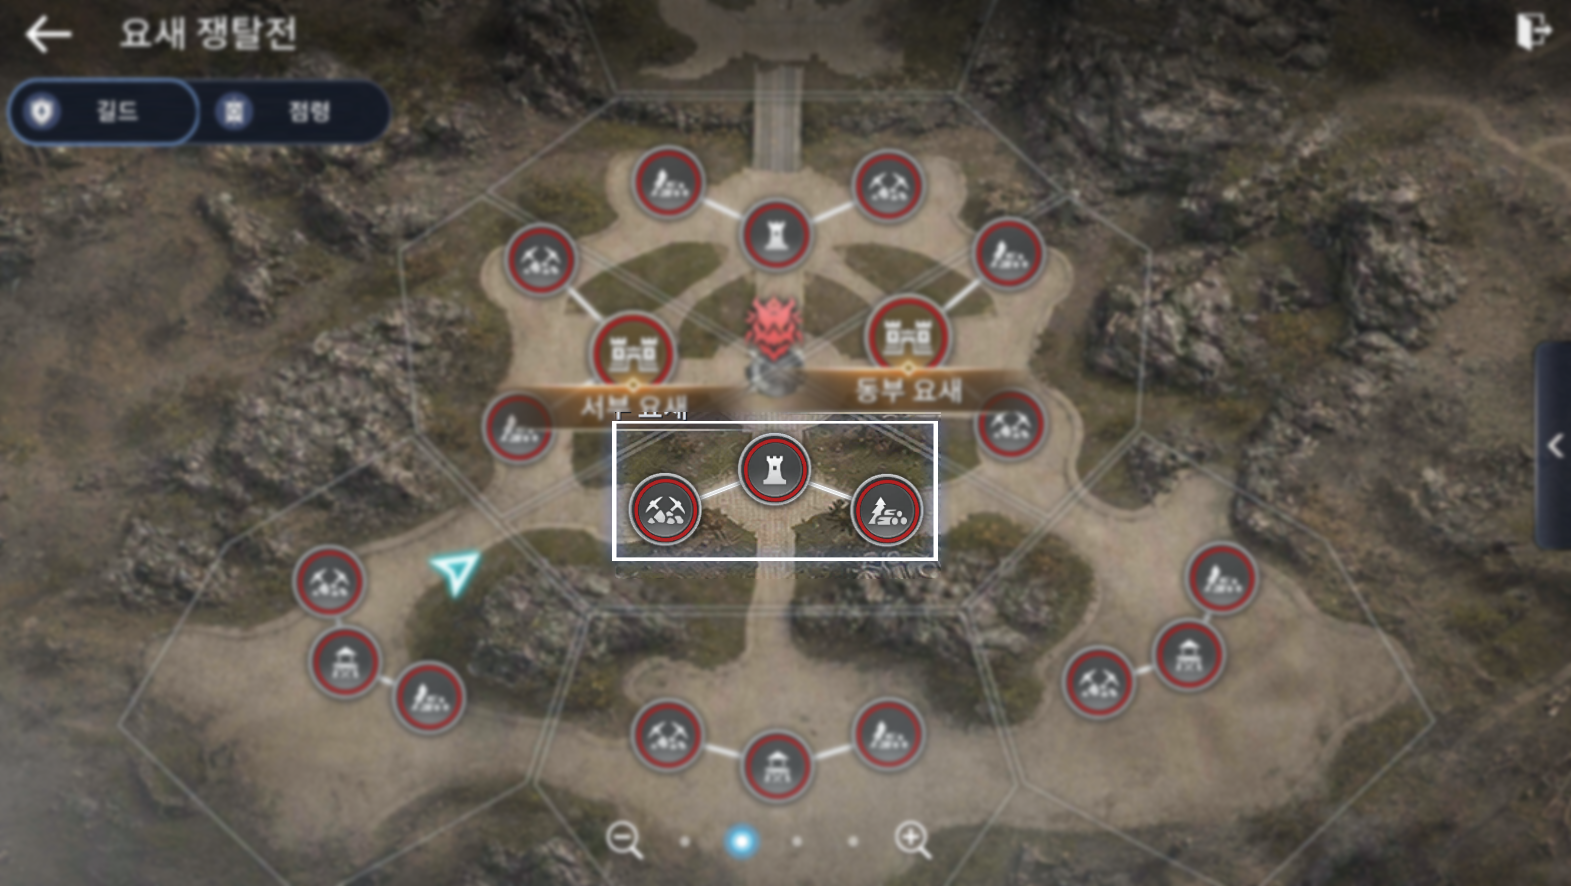
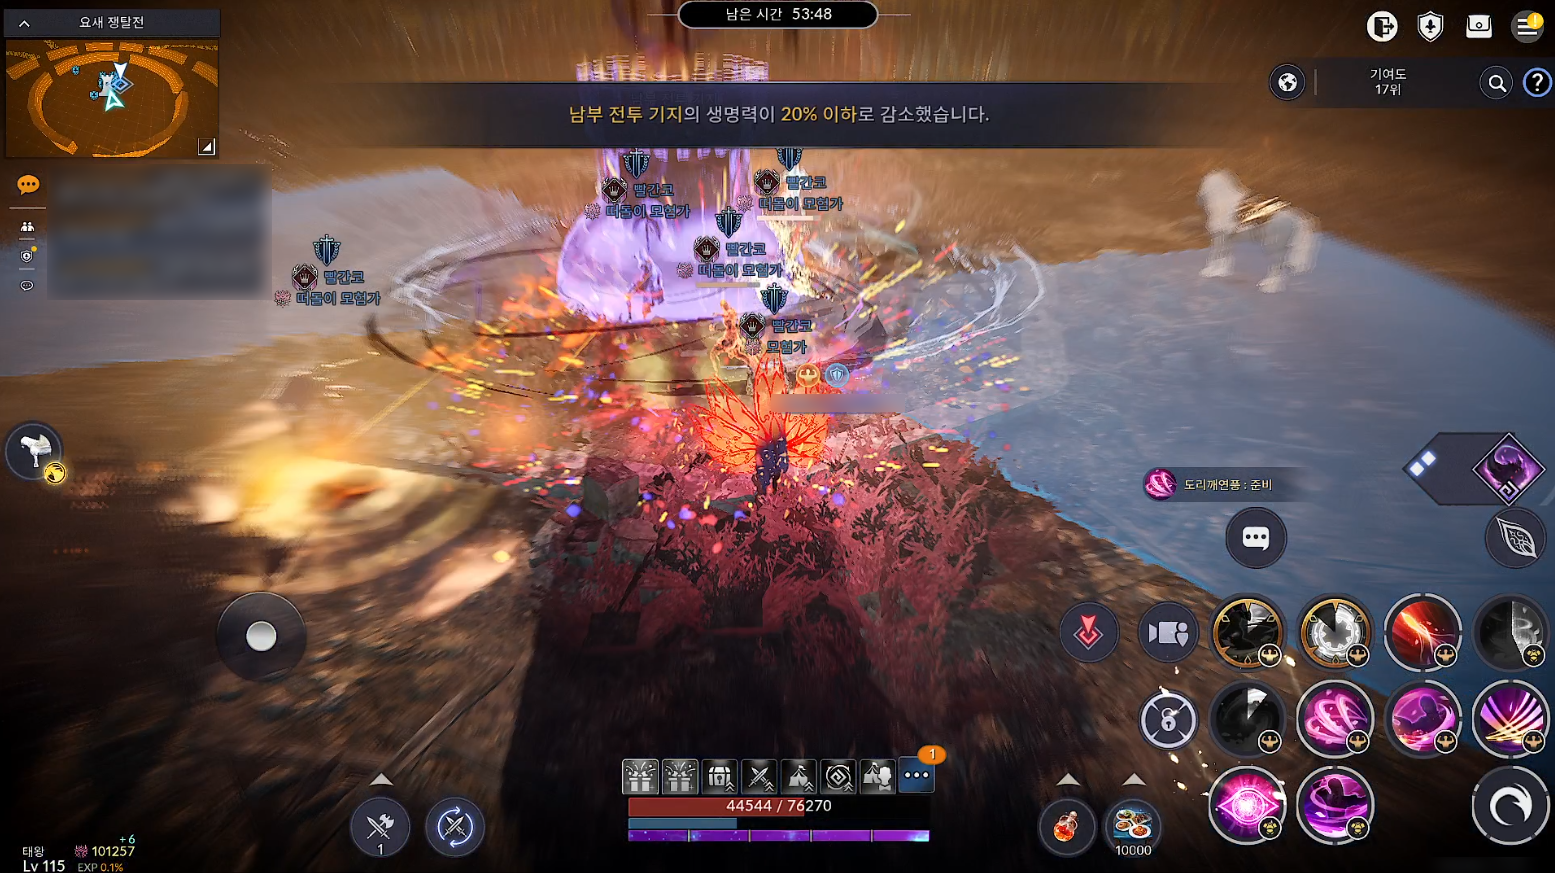
After securing the Smelter and Outpost, we immediately advanced on the Southern War Camp.
We had to break through the surrounding barricades while dodging powerful flame attacks from the Defense Tower!
Thanks to our guild members bravely pushing through the flames, we managed to occupy the Southern War Camp.
🏰 [Occupying the Eastern Fort]
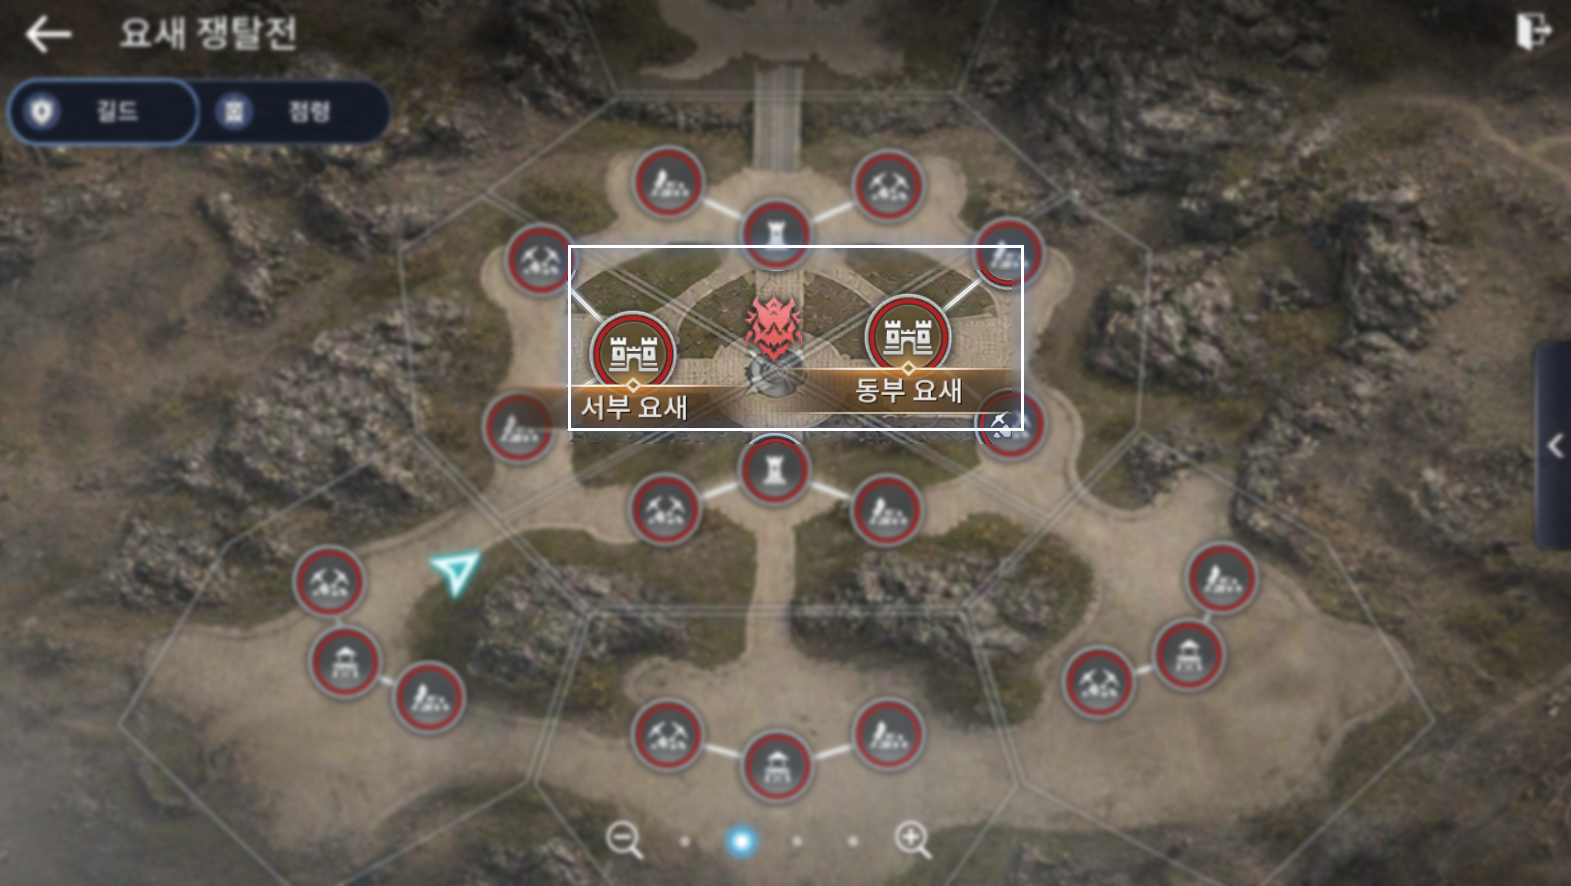
The Western Fort and Eastern Fort, the ultimate objectives, are located on opposite sides of the central battlefield.
Guilds that secure final control of a Fort will qualify for Siege War!
The Red Nose Guild set its sights on the Eastern Fort!
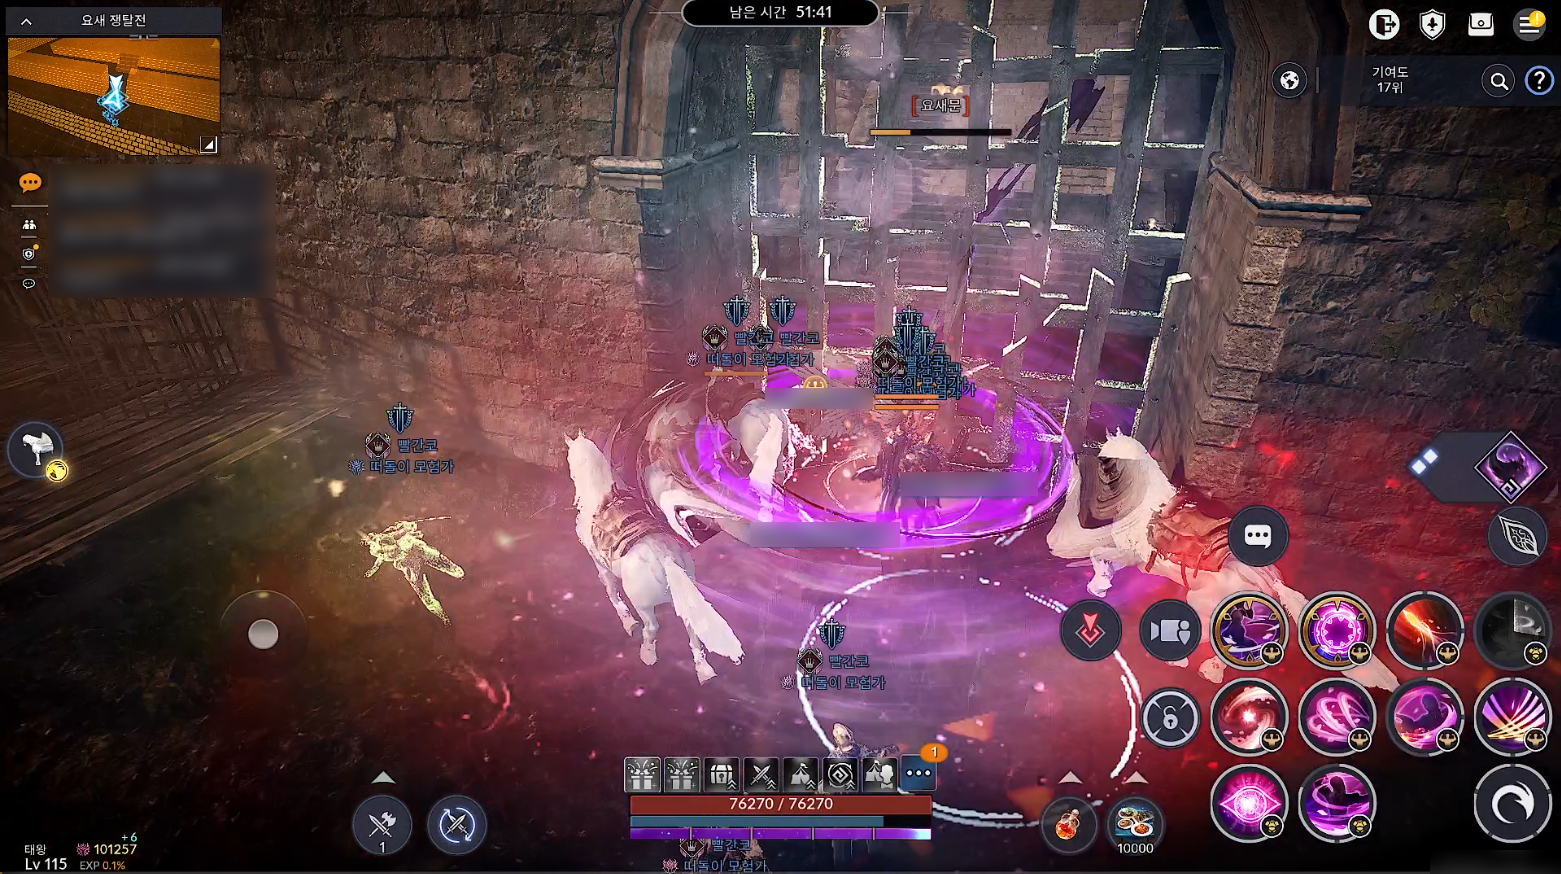
We joined forces with our guild members to destroy a Fort Gate and gain entry.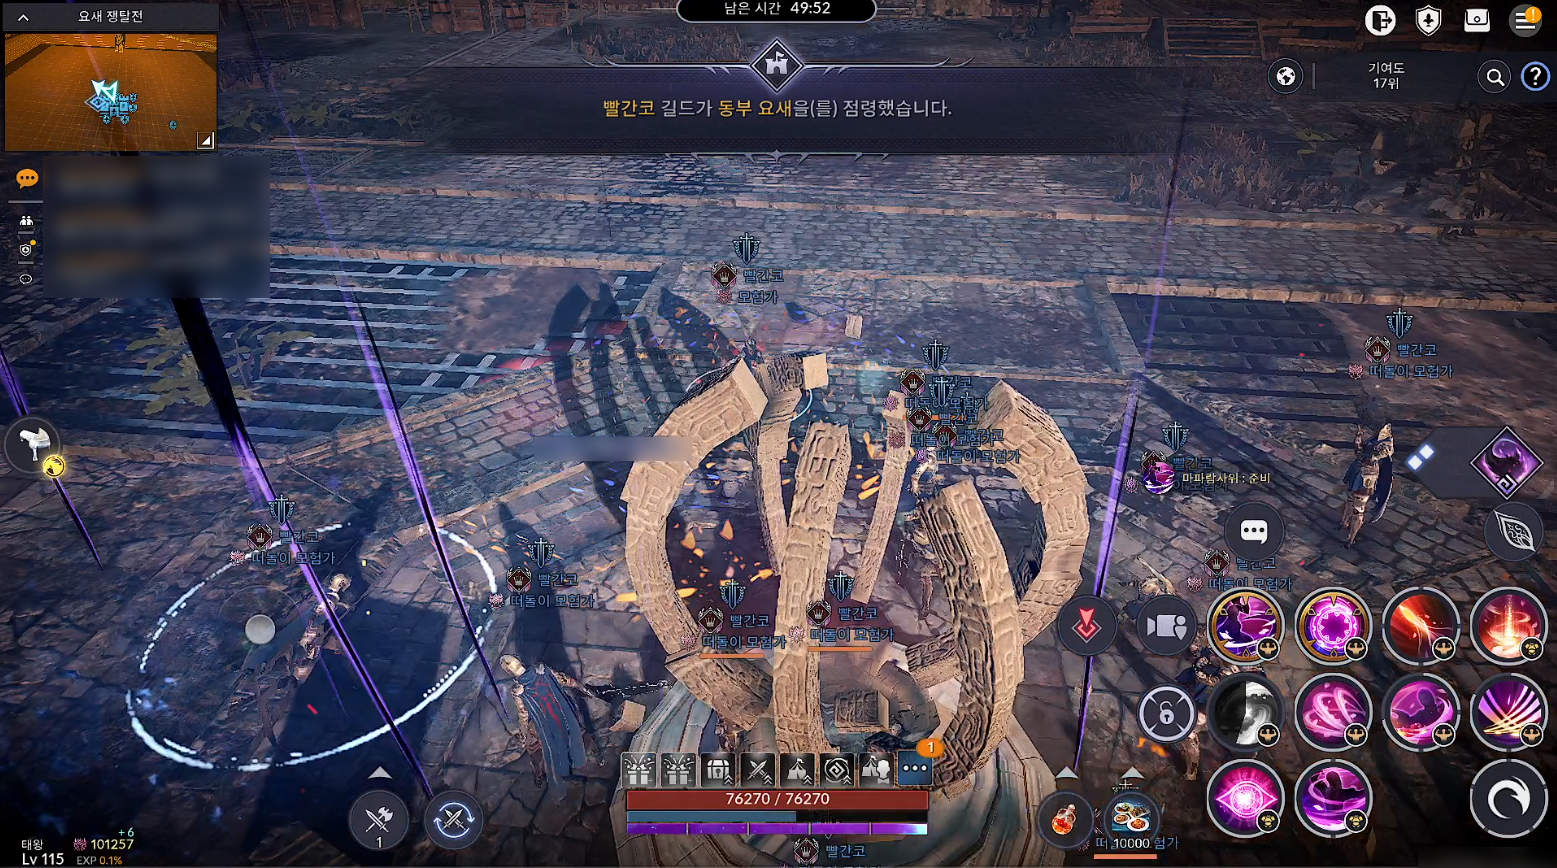
At last, we broke through the Fort Gate, destroyed the Holy Artifact, and occupied the Eastern Fort.
Upon occupying a Fort, all opposing guild members in the area are defeated and revive elsewhere.
The Fort then comes under our guild's control, and a 1-min Reclaim Period begins.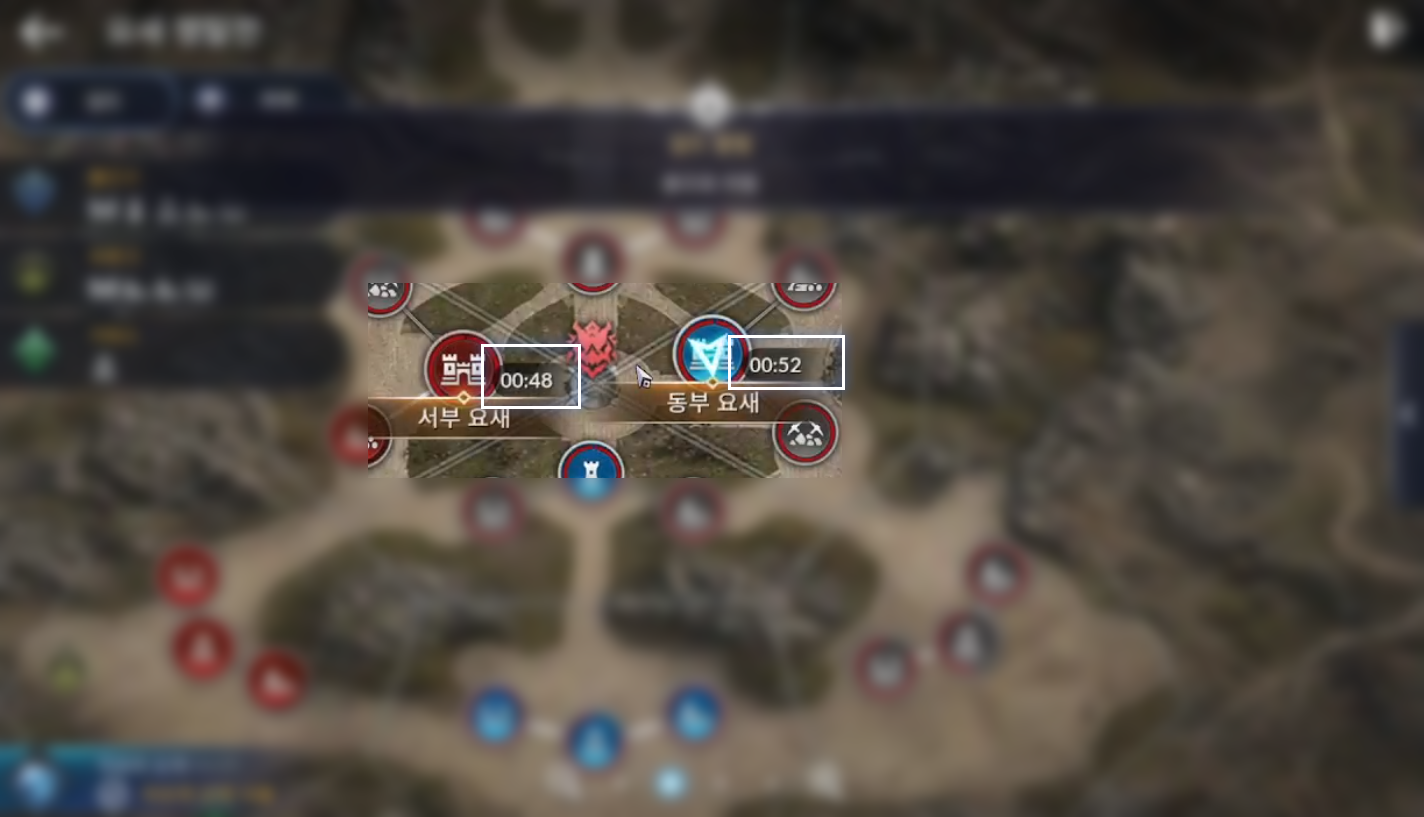
When the Reclaim Period begins, all siege weapons deployed inside the Fort by other guilds are destroyed, and the Holy Artifact and Fort Gates reappear.
Let's regroup before our opponents return to recapture the fort!
And the real excitement of Fortress Battle begins as soon as the Reclaim Period ends!
This is because once a Fort is occupied, it must be held for the same amount of time that elapsed between the start of the fight and its occupation.
Since we occupied the Fort about 10 min after the battle began, we now had to fend off the opposing guilds for 10 min to secure final control!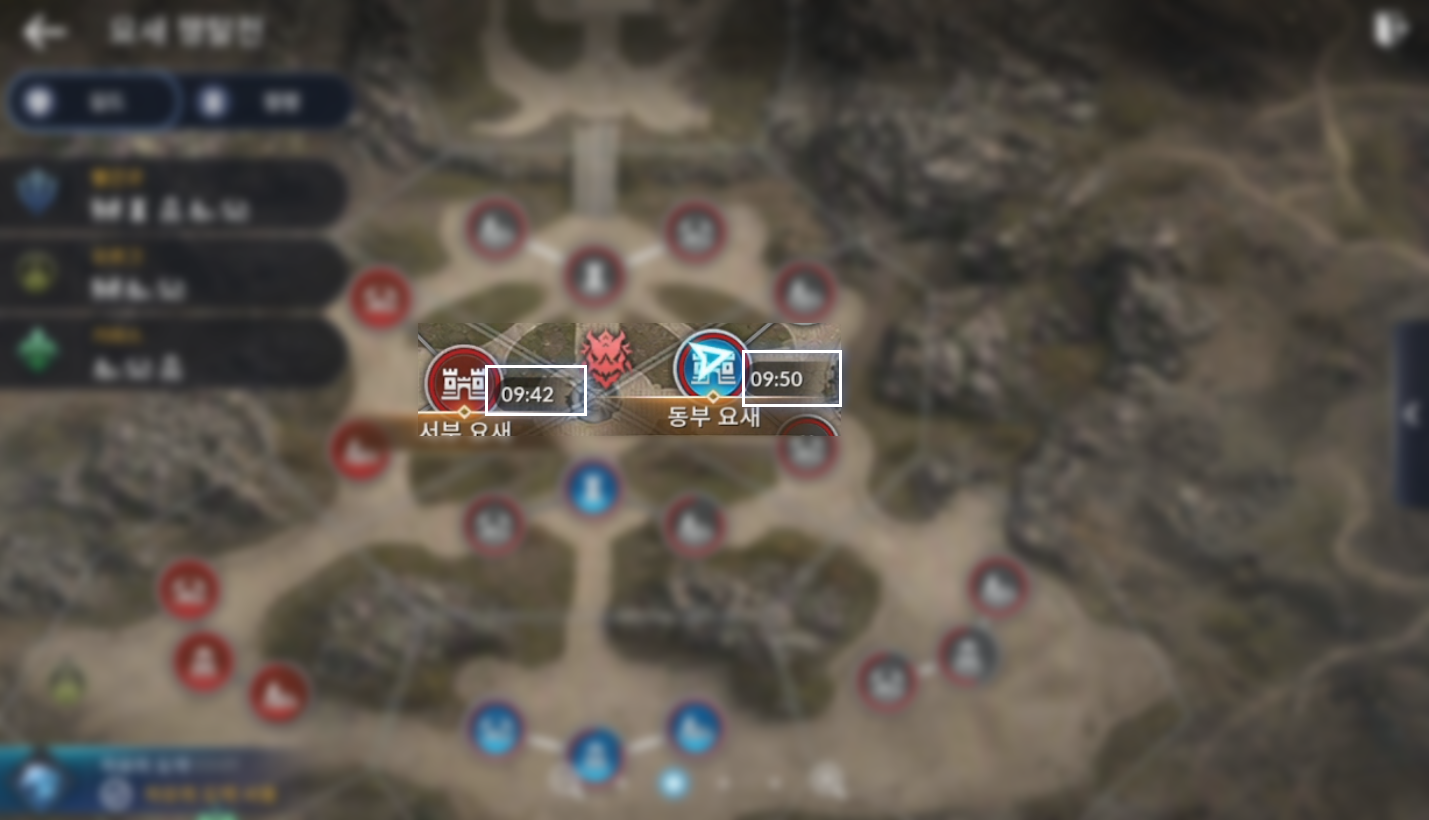
There are two ways to secure final control of a Fort.
① Hold the Fort without losing it to another guild for the same amount of time that elapsed before it was occupied.
② When Fortress Battle ends, the guild occupying the Fort secures final control.
* Once final control of a Fort has been secured, no other guild can occupy it!
* Each guild can occupy only one Fort.
🐉 [Red Dragon on the Battlefield]
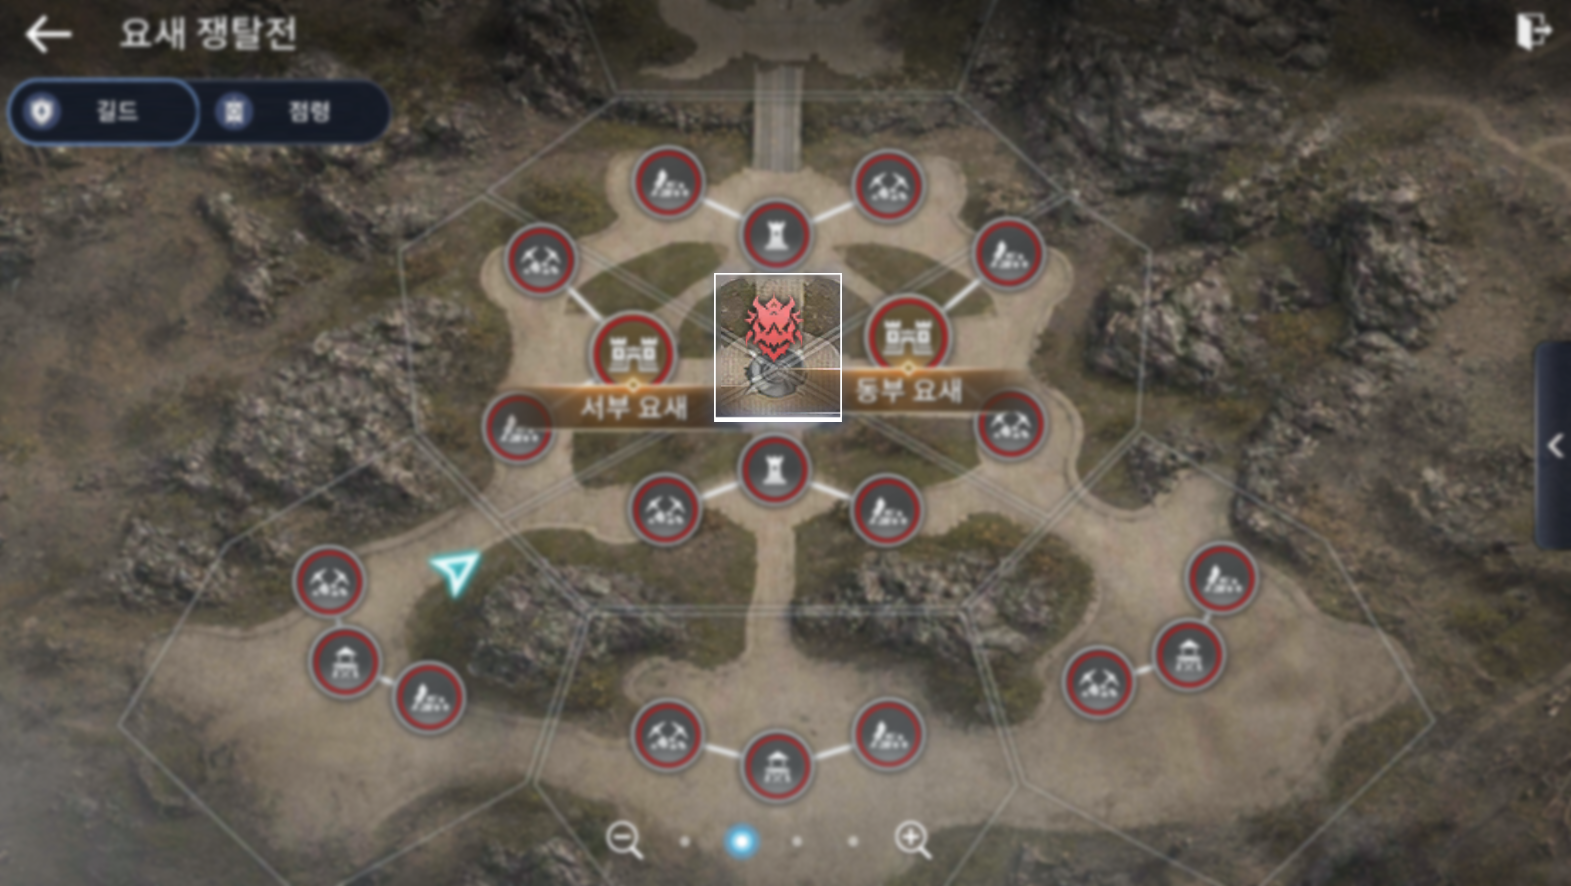
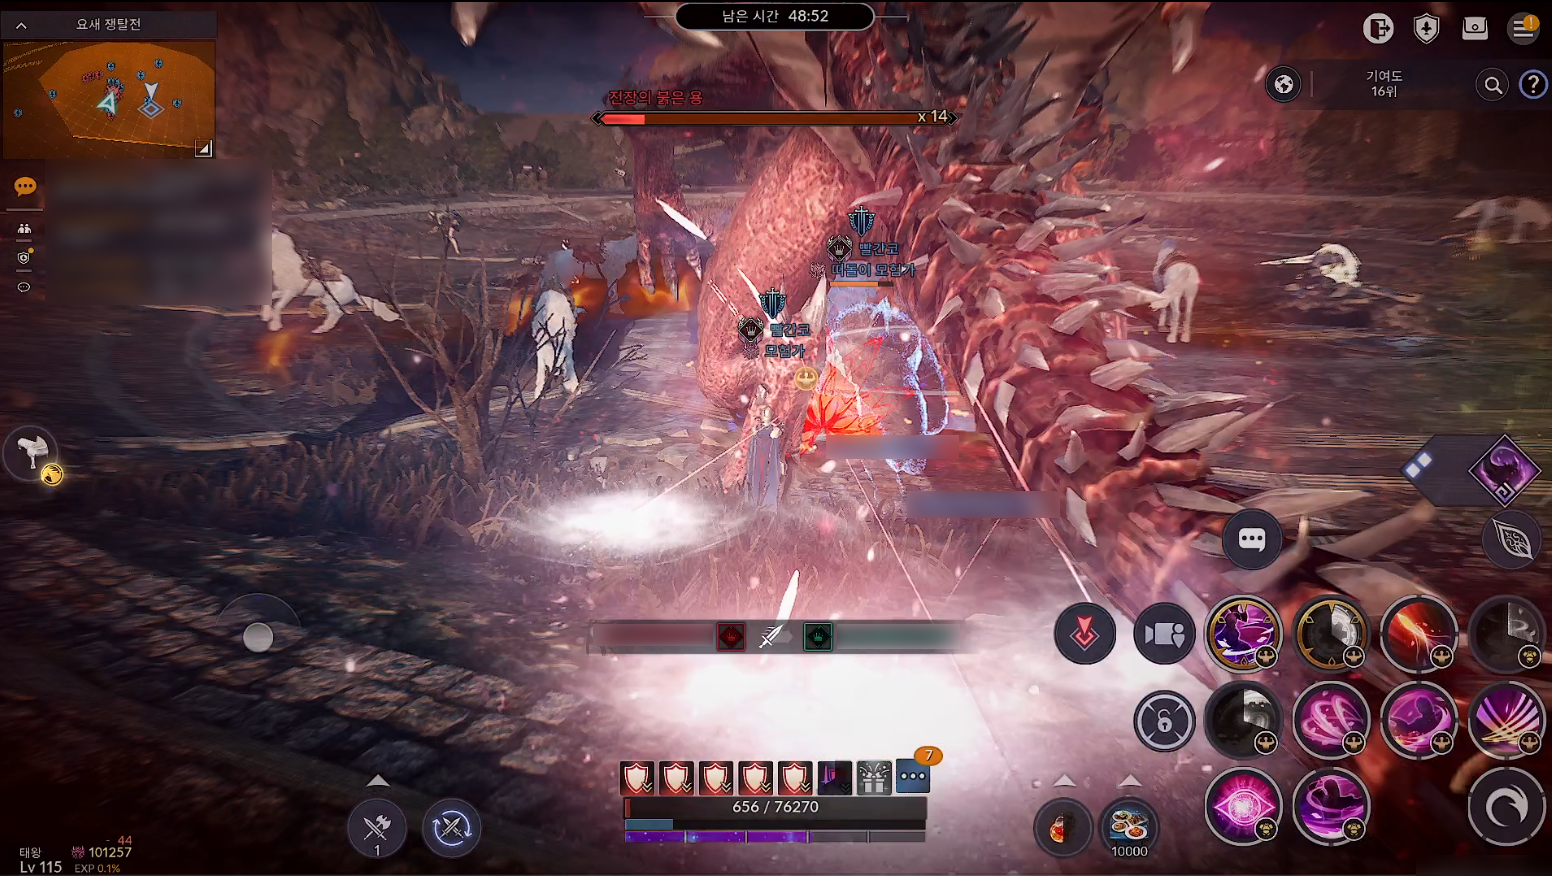
We needed a powerful edge to defend the Fort.
That edge came from the buff granted by the Red Dragon that appears at the center of the battlefield.
Knowing we might not be able to hold the Fort if another guild claimed the buff, all our guild members rushed toward the Red Dragon.
The tense jockeying for position and ensuing chaos as guilds converged from every direction made for one of the most thrilling moments of Fortress Battle!
* The Red Dragon appears at set intervals, and the buff granted for defeating it grows stronger with each appearance.
* Defeating it grants the "Ogre's Roar" and "Destroyer Instinct" effects.
| Category | Effect | |
| Ogre's Roar | Destroyer Instinct | |
| First Spawn | AP +1,000, DP +1,000 | Damage to Node Structures +5% |
| Second Spawn | AP +1,500, DP +1,500 | Damage to Node Structures +10% |
| Third Spawn | AP +2,000, DP +2,000 | Damage to Node Structures +30% |
| Fourth Spawn | AP +2,000, DP +2,000 | Damage to Node Structures +50% |
| Fifth Spawn | AP +2,000, DP +2,000 | Damage to Node Structures +100% |
* The guild that lands the final hit on the Red Dragon defeats it, and all guild members receive a buff for 5 min.
🚩 [Defeat and Revival During Battle]
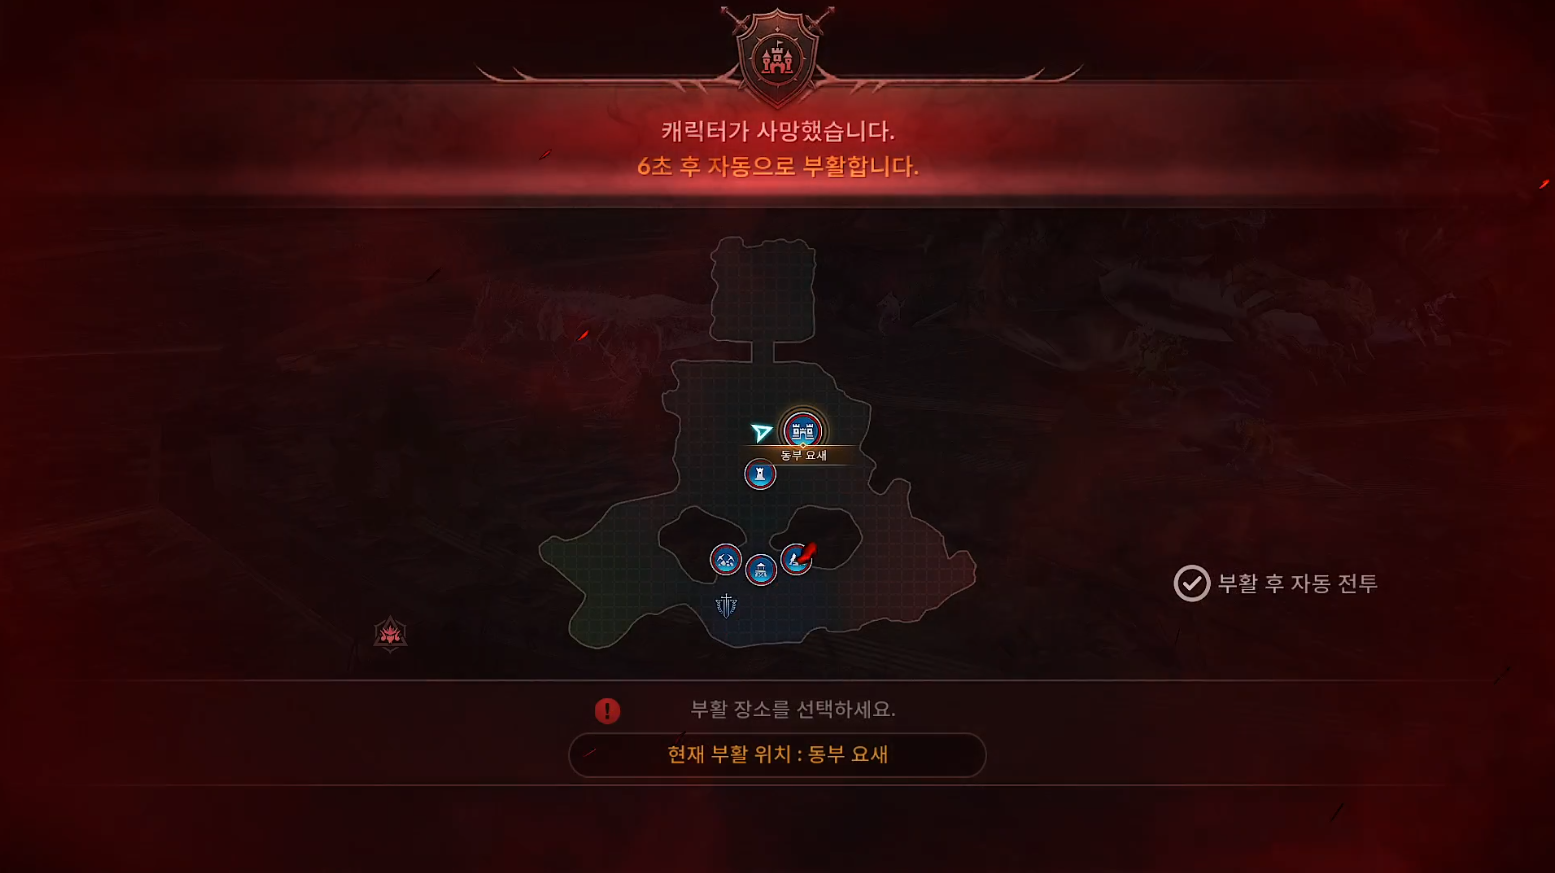
At one point, some of us were defeated by powerful enemy attacks while fighting the Red Dragon.
However, since we had already occupied the Eastern Fort, we were able to revive closer to the action and quickly return to the front lines.
This showed us just how important occupied Nodes are, not only for securing resources but also as strategic revival points.
While we were making our way back, one of our guild members landed the final blow on the Red Dragon and secured the buff!
🛡️ [Defending the Eastern Fort]
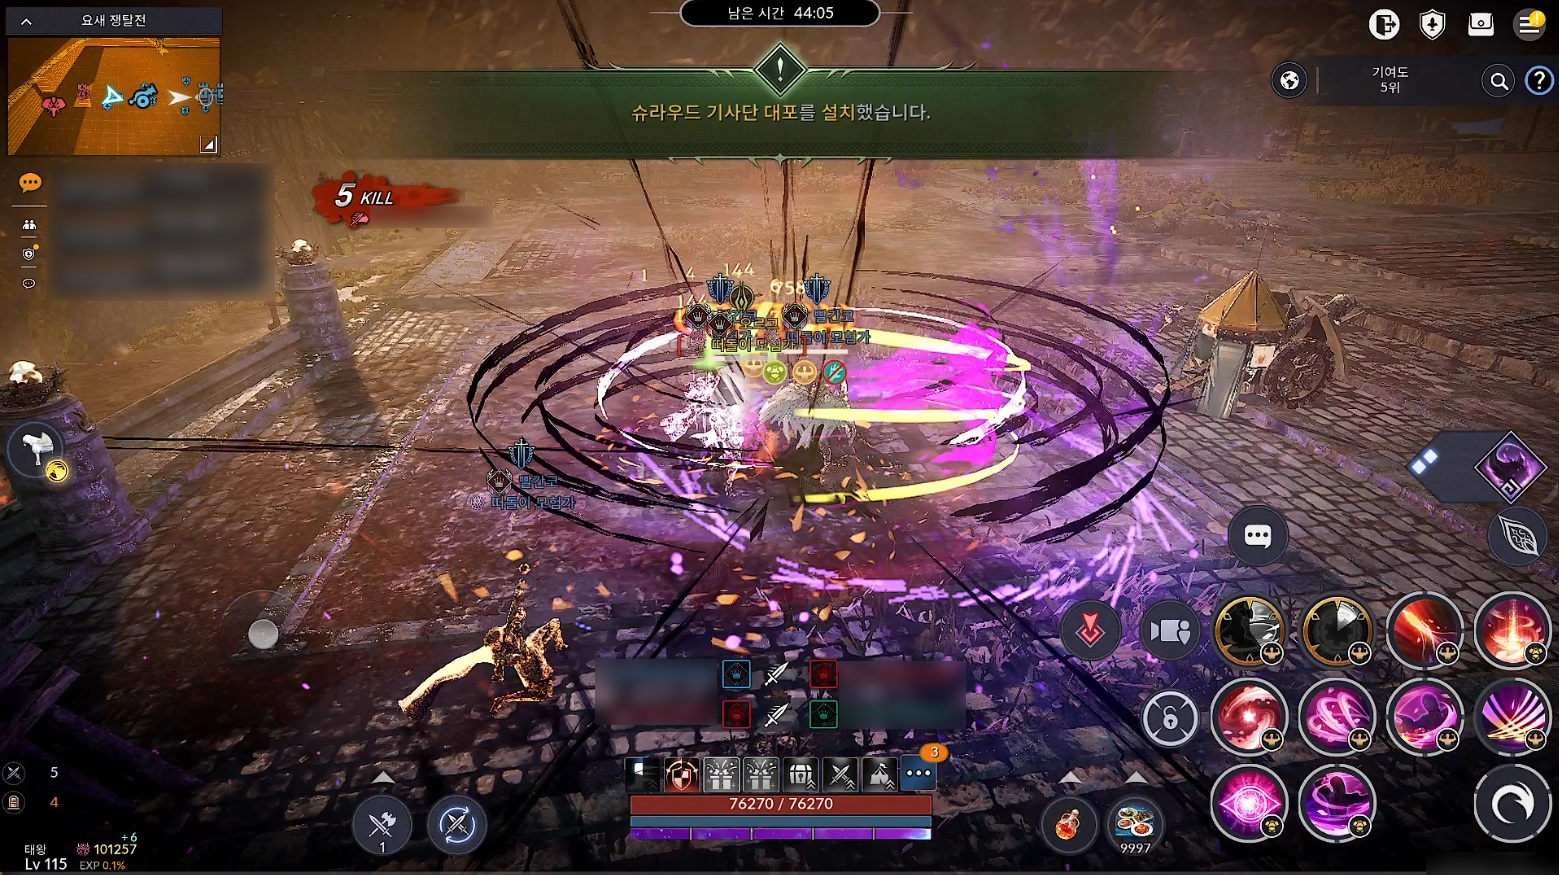
Soon after, opposing guilds that had yet to capture a Fort began surging toward our Eastern Fort!
Thanks to the Red Nose Guild Master's quick thinking, we set up a Recovery Tower, Cannons, and other defenses to prepare for their assault.
It was a moment that showed us just how crucial the strategic placement of these structures can be.
🐘 [Elephant]
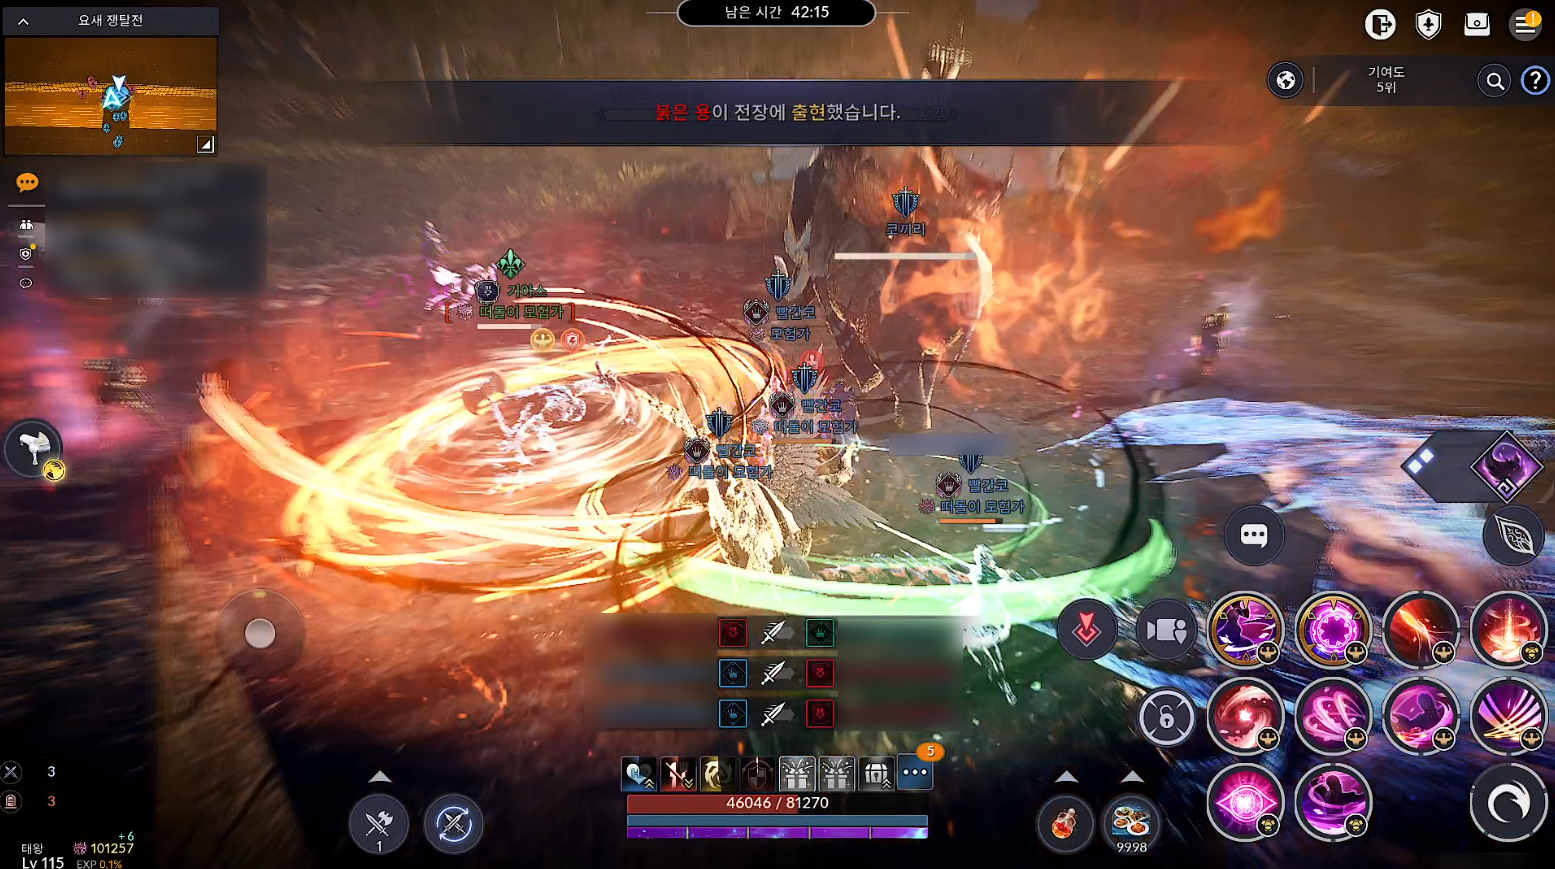
We charged forward alongside an Elephant to drive back the enemies attacking our Fort Gate.
With an Elephant at our side, we feared no attack!
🏆 [Final Results]
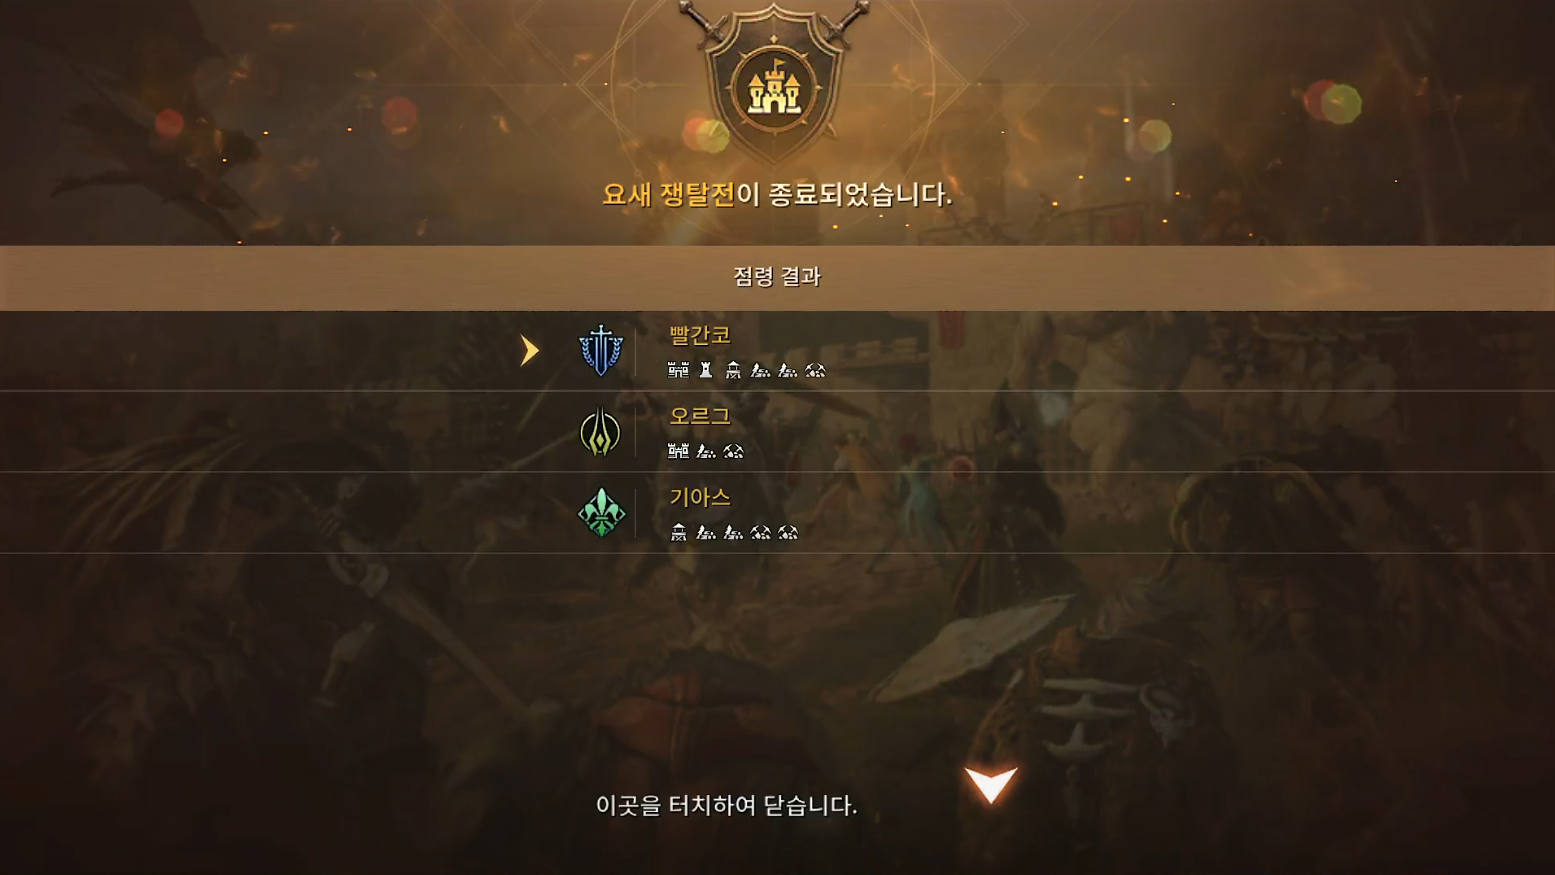
After an intense battle to defend the Fort, Fortress Battle finally came to an end.
Victory belonged to the Red Nose Guild, who defended the Eastern Fort to the very end while also occupying a War Camp and Outpost!
This hard-earned victory was made possible by every guild member planning and fighting as one.
When Fortress Battle arrives on the live server, rewards will be available as follows!
① Guilds that secure final control of a Fort will earn a spot in Siege War!
② Guilds will earn rewards based on the Nodes they occupy!
ㆍReward value will be highest in the following order: [Fort] > [War Camp] > [Outpost] > [Lumber Mill/Smelter].
This means your guild can prioritize other Nodes based on its strategy and still earn rewards without occupying a Fort!
※ However, by participating in this Fortress Battle test on the test server, you can receive rewards including Black Pearls, Harmony Scrolls, and an Unidentified Chaos Skill Sigil.
From our firsthand experience, Fortress Battle was about far more than sheer strength.
It was a true test of strategy that required resource management, effective use of structures, and close communication among guild members.
While it took some time to adjust to the vast battlefield,
working together with our guild members to devise strategies and occupy Nodes one by one made the experience truly special.
The battle was incredibly intense even with only three guilds participating in this test.
We can only imagine the unexpected twists and excitement that await when up to six guilds clash on the actual battlefield!
What stories will Adventurers write on this new battlefield?
Fortress Battle will be available for an early look on the BDM Test Server this week.
We hope you're as excited as we are, and we look forward to seeing you on the test server!
* This CM Note is based on our experience in a test environment.
* Some details may differ when the content is applied to the BDM Test Server.